This tutorial provides step-by-step instructions on installing phpMyAdmin on a server and configuring it for use with MySQL. The process includes downloading the phpMyAdmin files, setting up the directory structure, configuring the server, and obtaining an SSL certificate using Let's Encrypt.
¶ Prerequisites
Before you begin, ensure that you have the following:
- Access to a server running a web server (for this case, Nginx).
- sudo or root access to the server.
- Basic knowledge of working with the command line.
¶ Installation Steps
¶ 1. Download phpMyAdmin
wget https://files.phpmyadmin.net/phpMyAdmin/5.2.1/phpMyAdmin-5.2.1-all-languages.zip
¶ 2. Install Unzip
apt install unzip -y
¶ 3. Decompress the phpMyAdmin Files
unzip phpMyAdmin-5.*-all-languages.zip
¶ 4. Cleanup and Create Directory
rm phpMyAdmin-5.*-all-languages.zip
mkdir /var/www/phpmyadmin/
¶ 5. Move Files to the New Directory
mv phpMyAdmin-5.*-all-languages/* /var/www/phpmyadmin/
rm -r phpMyAdmin-5.*-all-languages
¶ 6. Navigate to the phpMyAdmin Directory
cd /var/www/phpmyadmin/
¶ 7. Rename the Example Config and Edit
mv config.sample.inc.php config.inc.php
nano config.inc.php
- Change the blowfish secret with a new key. You can generate one here.
- Add
$cfg['TempDir'] = '/tmp/';to the config and save.
¶ 8. Install Certbot for SSL
Remember to point your subdomain to the IP Address of the instance or the release of the certificate will fail.
apt install certbot -y
service nginx stop
certbot certonly -d mysql.example.com
¶ 9. Configure Nginx for phpMyAdmin
For implementing the Nginx with SSL configuration, you'll have to generate a new SSL certificate for your domain. Services like certbot can be employed for this purpose.
9.1 Start by creating a new nginx config file in the folder /etc/nginx/sites-available called phpmyadmin.conf - Below is a guide on how to create the file using nano, but similarly you can create it using SFTP.
nano /etc/nginx/sites-available/phpmyadmin.conf
9.2 Paste in the code below and replace (changeme) with your domain
server {
    # Replace the example (changeme) with your domain name or IP address
    listen 80;
    server_name mysql.example.com (changeme);
    return 301 https://$server_name$request_uri;
}

server {
    listen 443 ssl http2;
    server_name mysql.example.com (changeme);

    root /var/www/phpmyadmin;
    index index.php;

    access_log /var/log/nginx/phpmyadmin.app-access.log;
    error_log  /var/log/nginx/phpmyadmin.app-error.log error;

    # allow larger file uploads and longer script runtimes
    client_max_body_size 100m;
    client_body_timeout 120s;

    sendfile off;

    # SSL Configuration
    ssl_certificate /etc/letsencrypt/live/mysql.example.com (changeme)/fullchain.pem;
    ssl_certificate_key /etc/letsencrypt/live/mysql.example.com (changeme)/privkey.pem;
    ssl_session_cache shared:SSL:10m;
    ssl_protocols TLSv1.2 TLSv1.3;
    ssl_ciphers "ECDHE-ECDSA-AES128-GCM-SHA256:ECDHE-RSA-AES128-GCM-SHA256:ECDHE-ECDSA-AES256-GCM-SHA384:ECDHE-RSA-AES256-GCM-SHA384:ECDHE-ECDSA-CHACHA20-POLY1305:ECDHE-RSA-CHACHA20-POLY1305:DHE-RSA-AES128-GCM-SHA256:DHE-RSA-AES256-GCM-SHA384";
    ssl_prefer_server_ciphers on;

    # See https://hstspreload.org/ before uncommenting the line below.
    # add_header Strict-Transport-Security "max-age=15768000; preload;";
    add_header X-Content-Type-Options nosniff;
    add_header X-XSS-Protection "1; mode=block";
    add_header X-Robots-Tag none;
    add_header Content-Security-Policy "frame-ancestors 'self'";
    add_header X-Frame-Options DENY;
    add_header Referrer-Policy same-origin;

    location / {
        try_files $uri $uri/ /index.php?$query_string;
    }

    location ~ \.php$ {
        fastcgi_split_path_info ^(.+\.php)(/.+)$;
        fastcgi_pass unix:/run/php/php8.1-fpm.sock;
        fastcgi_index index.php;
        include fastcgi_params;
        fastcgi_param PHP_VALUE "upload_max_filesize = 100M \n post_max_size=100M";
        fastcgi_param SCRIPT_FILENAME $document_root$fastcgi_script_name;
        fastcgi_param HTTP_PROXY "";
        fastcgi_intercept_errors off;
        fastcgi_buffer_size 16k;
        fastcgi_buffers 4 16k;
        fastcgi_connect_timeout 300;
        fastcgi_send_timeout 300;
        fastcgi_read_timeout 300;
        include /etc/nginx/fastcgi_params;
    }

    location ~ /\.ht {
        deny all;
    }
}
9.3 Adjust PHP Version in Nginx Configuration
sed -i "s/fastcgi_pass unix:\/run\/php\/php[0-9].[0-9]-fpm.sock;/fastcgi_pass unix:\/run\/php\/php$(php -r 'echo PHP_MAJOR_VERSION.".".PHP_MINOR_VERSION;')-fpm.sock;/g" /etc/nginx/sites-available/phpmyadmin.conf
9.4 Enable Nginx Configuration
ln -s /etc/nginx/sites-available/phpmyadmin.conf /etc/nginx/sites-enabled/phpmyadmin.conf
service nginx restart
We recommend utilizing the Nginx configuration with SSL. Use it exclusively when placing your website behind a CloudFlare proxy, as CloudFlare will supply you with an SSL certificate.
9.1 Start by creating a new nginx config file in the folder /etc/nginx/sites-available called phpmyadmin.conf - Below is a guide on how to create the file using nano, but similarly you can create it using SFTP.
nano /etc/nginx/sites-available/phpmyadmin.conf
9.2 Paste in the code below and replace (changeme) with your domain
server {
    # Replace the example (changeme) with your domain name or IP address
    listen 80;
    server_name mysql.example.com (changeme);


    root /var/www/phpmyadmin;
    index index.php;

    charset utf-8;

    location / {
        try_files $uri $uri/ /index.php?$query_string;
    }

    location = /favicon.ico { access_log off; log_not_found off; }
    location = /robots.txt  { access_log off; log_not_found off; }

    access_log off;
    access_log /var/log/nginx/phpmyadmin.app-access.log;
    error_log  /var/log/nginx/phpmyadmin.app-error.log error;

    # allow larger file uploads and longer script runtimes
    client_max_body_size 100m;
    client_body_timeout 120s;

    sendfile off;

    location ~ \.php$ {
        fastcgi_split_path_info ^(.+\.php)(/.+)$;
        fastcgi_pass unix:/run/php/php8.1-fpm.sock;
        fastcgi_index index.php;
        include fastcgi_params;
        fastcgi_param PHP_VALUE "upload_max_filesize = 100M \n post_max_size=100M";
        fastcgi_param SCRIPT_FILENAME $document_root$fastcgi_script_name;
        fastcgi_param HTTP_PROXY "";
        fastcgi_intercept_errors off;
        fastcgi_buffer_size 16k;
        fastcgi_buffers 4 16k;
        fastcgi_connect_timeout 300;
        fastcgi_send_timeout 300;
        fastcgi_read_timeout 300;
    }

    location ~ /\.ht {
        deny all;
    }
}
9.3 Adjust PHP Version in Nginx Configuration
sed -i "s/fastcgi_pass unix:\/run\/php\/php[0-9].[0-9]-fpm.sock;/fastcgi_pass unix:\/run\/php\/php$(php -r 'echo PHP_MAJOR_VERSION.".".PHP_MINOR_VERSION;')-fpm.sock;/g" /etc/nginx/sites-available/phpmyadmin.conf
9.4 Enable Nginx Configuration
ln -s /etc/nginx/sites-available/phpmyadmin.conf /etc/nginx/sites-enabled/phpmyadmin.conf
service nginx restart
¶ 10. Configure MySQL for Pterodactyl
mysql
use mysql;
CREATE USER "pterodactyldb"@"%" IDENTIFIED BY "yourdbpassword";
GRANT ALL PRIVILEGES ON *.* TO "pterodactyldb"@"%" WITH GRANT OPTION;
FLUSH PRIVILEGES;
exit;
¶ 11. Allow Remote Connection for MySQL
nano /etc/mysql/mariadb.conf.d/50-server.cnf
Replace bind-address = 127.0.0.1 with bind-address = 0.0.0.0, save, and restart MySQL:
service mysql restart
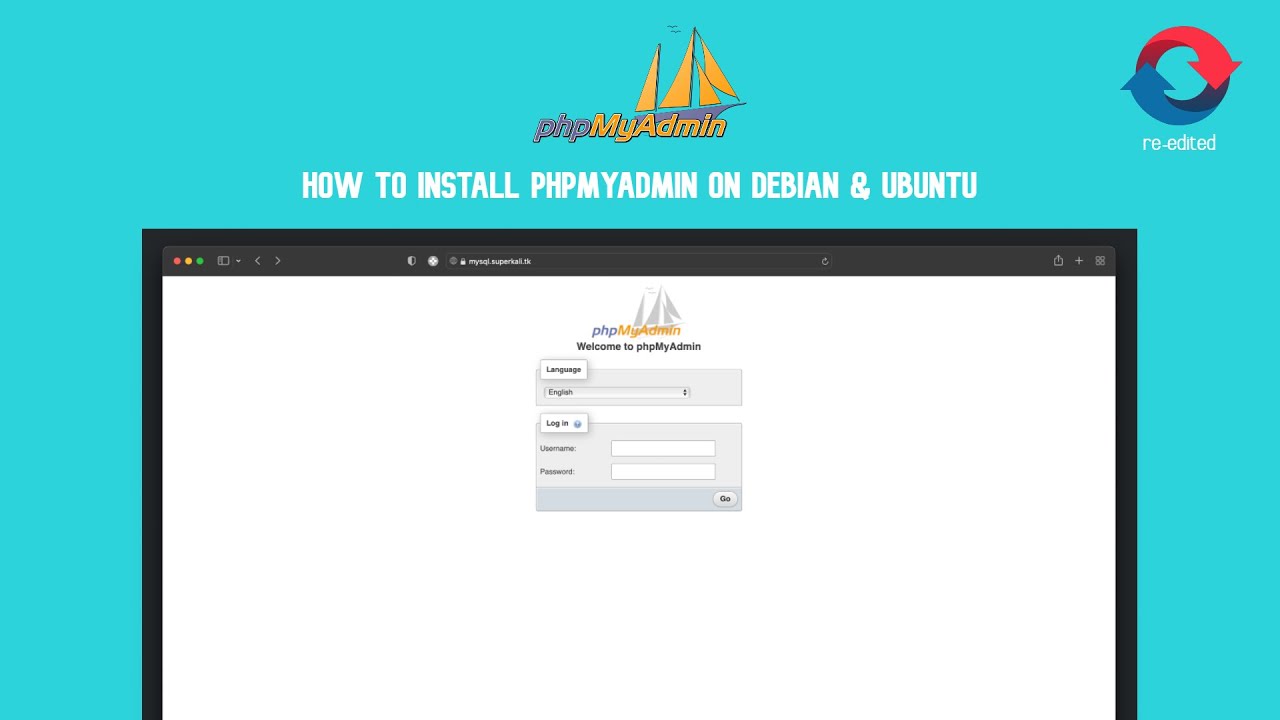
Now, phpMyAdmin is installed and configured. You can use it to manage your MySQL databases and configure it for use with Pterodactyl.
¶ 🎥 Video reference